Channels and Tonal Editing
Keep the original image and an editable stack while you correct color, shape contrast and finish detail.
Choose the target first
Object Filters apply to one rendered object. To correct a scoped composite, choose Object → New Adjustment Layer, then Add Adjustment. The layer's scope determines the content below it; masks, effect opacity and blend mode limit the result. Place white balance before creative grading when building a new stack. Existing stacks stay in their authored order.
The current software effect boundary is straight-alpha RGBA8 interpreted as sRGB. Managed document colors and RAW metadata do not make this an HDR or camera-calibrated processing pipeline.
Inspect channels and reuse coverage
Select an image, expand Selection Sources, and open Channels. Choose Composite, Red, Green, Blue or Alpha coverage. RGB may be inspected in grayscale or color. Restore composite returns the preview to RGB; inspection never changes the edit target or ordinary export.
Channel to selection creates a one-time coverage snapshot from the original source, within the existing 16-megapixel mask budget. Choose replace, add, subtract or intersect, and optionally invert. RGB coverage includes alpha so hidden color cannot select invisible pixels. Alpha retains partial coverage.
Use Save selection below to name the coverage. Existing controls rename, duplicate, remove and reload it. Object → Create Mask from Selection applies it without replacing the source image. Brush painting uses the existing selection or mask target; this surface does not offer direct RGB channel painting or editable CMYK/spot plates.
Channel Mixer is an edit rather than a view. Each output row keeps independent coefficients and an offset in 0–255 code values. Negative and creative values remain valid; coefficients are not forced to sum to 100%. Monochrome uses the red output row for all components.
Edit curves precisely
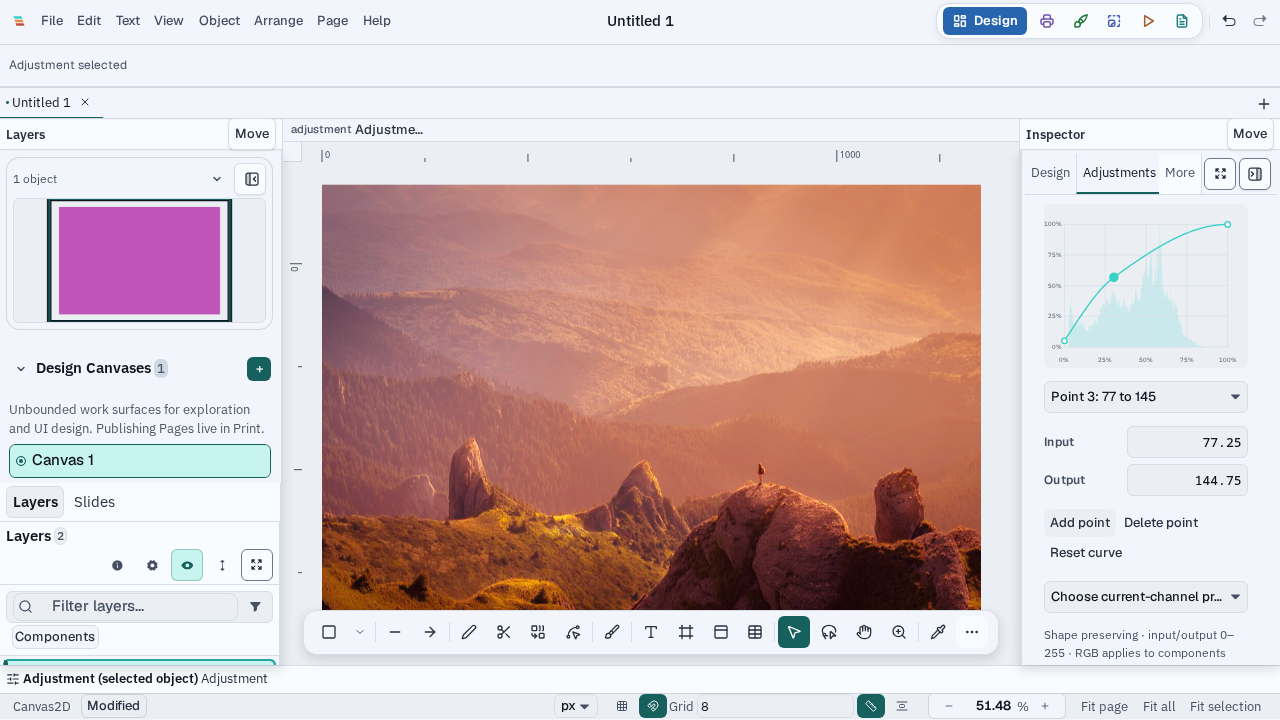
RGB is a master transfer applied to all components, followed by the individual Red, Green and Blue curves. Switching channels retains each point set. Input and Output fields accept fractional 0–255 code values. Add point, Delete point and Reset curve provide click alternatives to dragging; arrow keys move a focused point. Reset all channels has a wider scope.
New curves use shape-preserving PCHIP. A saved curve without a version keeps its legacy transfer; choosing Shape preserving explicitly upgrades it. Intentional inversions are supported. The graph shows the continuous transfer, while the current rendered surface quantizes to bytes.
The upstream source preview can add a point on the current transfer. A selected component samples that component after the current master curve. RGB samples the arithmetic mean of the three encoded components. This bounded preview is a diagnostic rather than a full-resolution on-canvas eyedropper.
Balance rendered-image color
White Balance uses relative warmth and tint, with neutral values at zero. Positive warmth adds red relative to blue; positive tint adds magenta relative to green. It is not measured Kelvin. Camera As Shot and RAW development stay in RAW Develop.
Pick a known gray patch in the upstream source preview or enter source X/Y and choose Sample neutral patch. The 3×3 preview patch excludes partial transparency, near-black and clipped channels. Auto neutral requires enough low-chroma evidence and can decline to make a correction. Colored artwork, sunsets and mixed lighting may need a deliberate patch or a masked local adjustment.
Auto White Balance in the adjustment panel updates the first existing white-balance entry from its upstream source. If none exists, it inserts at the beginning. Repeat clicks replace the estimate instead of adding cumulative corrections. Reset white balance restores neutral warmth, tint and gains; changes are undoable.
Tone shadows and highlights
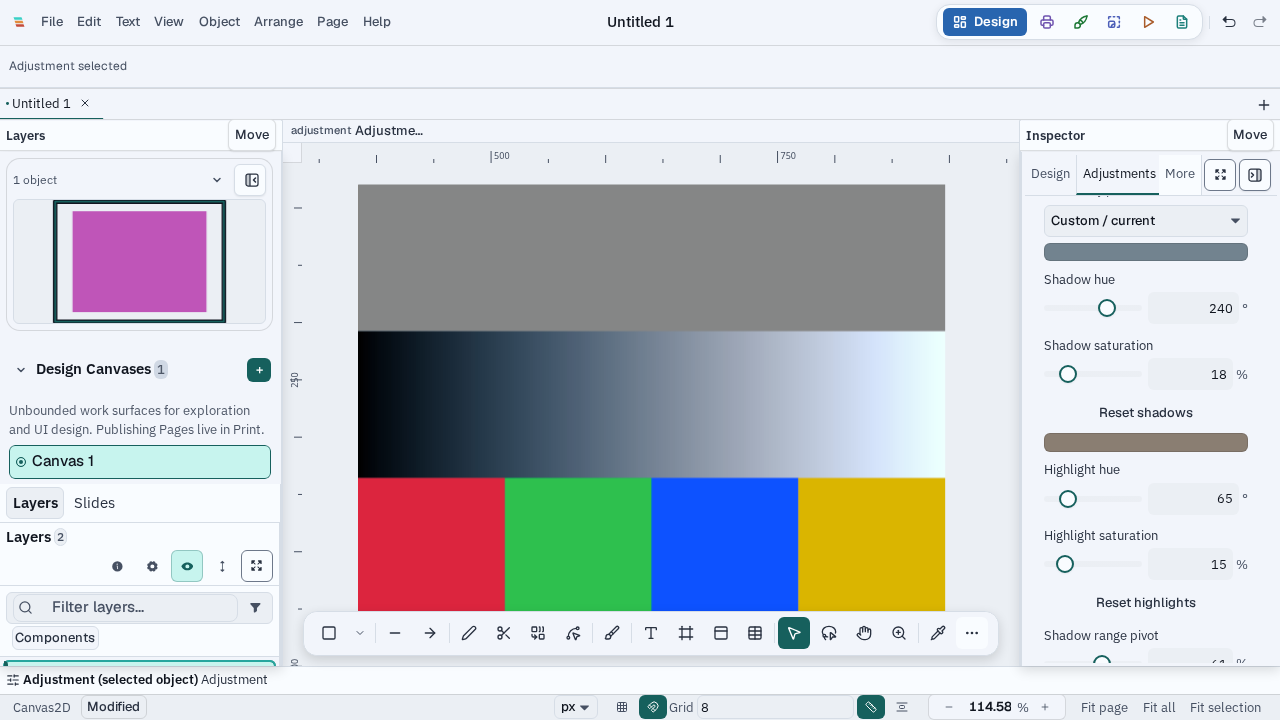
Split Toning adds color rather than replacing a source with a gradient. Set shadow and highlight hue/saturation, Shadow range pivot, Transition width and Toning strength. Higher pivot extends the shadow range. Presets are editable starting points, and each range has its own reset.
Zero strength or zero saturation in both ranges is neutral. Source lightness determines smooth weights once. Black/white endpoints stay protected; saturated colors may lose chroma to fit the sRGB gamut, and byte quantization can introduce small lightness differences.
Sharpen at the intended stage
Editing sharpen belongs to the editable filter stack. Output sharpening belongs to export and runs after resizing, with its radius in final output pixels. Editing radius uses object-local units or document units according to its target, with three-sigma Gaussian support. New entries use Gaussian unsharp masking; saved entries retain the Legacy box operator until you choose an upgrade. Select Linear sRGB or Encoded sRGB, and compare a requested document-pixel detail region alongside fit view. Channels can also show an original source-pixel crop before placement and filters. Amount raises edge contrast, radius chooses its scale and threshold limits weak differences; high settings can amplify noise or produce halos.
Both encoded sRGB and linear sRGB output modes blur and subtract in the same domain. Alpha stays unchanged, and transparent padding does not contribute hidden color to visible edges. A spatial sharpen cannot be represented by a global LUT.
Save and compare
Keep the editable Varve document, use the stack's preview/bypass controls to compare, and export from a stable document snapshot. Original embedded assets, adjustment parameters and saved selection coverage persist; channel inspection previews and histograms are transient.