Getting Started
Installation and first steps with Varve.
Installation
Get the latest release from thedownload page, which lists packages, checksums, and system requirements for each platform. This is an early beta: expect rough edges, and keep backups of anything you care about. The instructions below describe each platform's installer.
Linux
- AppImage (Recommended): Download the AppImage, make it executable, and run it:
chmod +x Varve-*.AppImage && ./Varve-*.AppImage- deb: Install via package manager:
sudo dpkg -i varve_*.deb - rpm: Install via package manager:
sudo rpm -i varve-*.rpm
macOS
Download the dmg and drag Varve to your Applications folder. Requires macOS 13 Ventura or later and an Apple Silicon Mac — there is no Intel build yet.
Windows
Download the NSIS installer (.exe) and run it. Requires Windows 10 or Windows 11.
First Launch
When you first launch Varve, you'll see the home screen with options to:
- Create a new document
- Open an existing document
- View recent documents
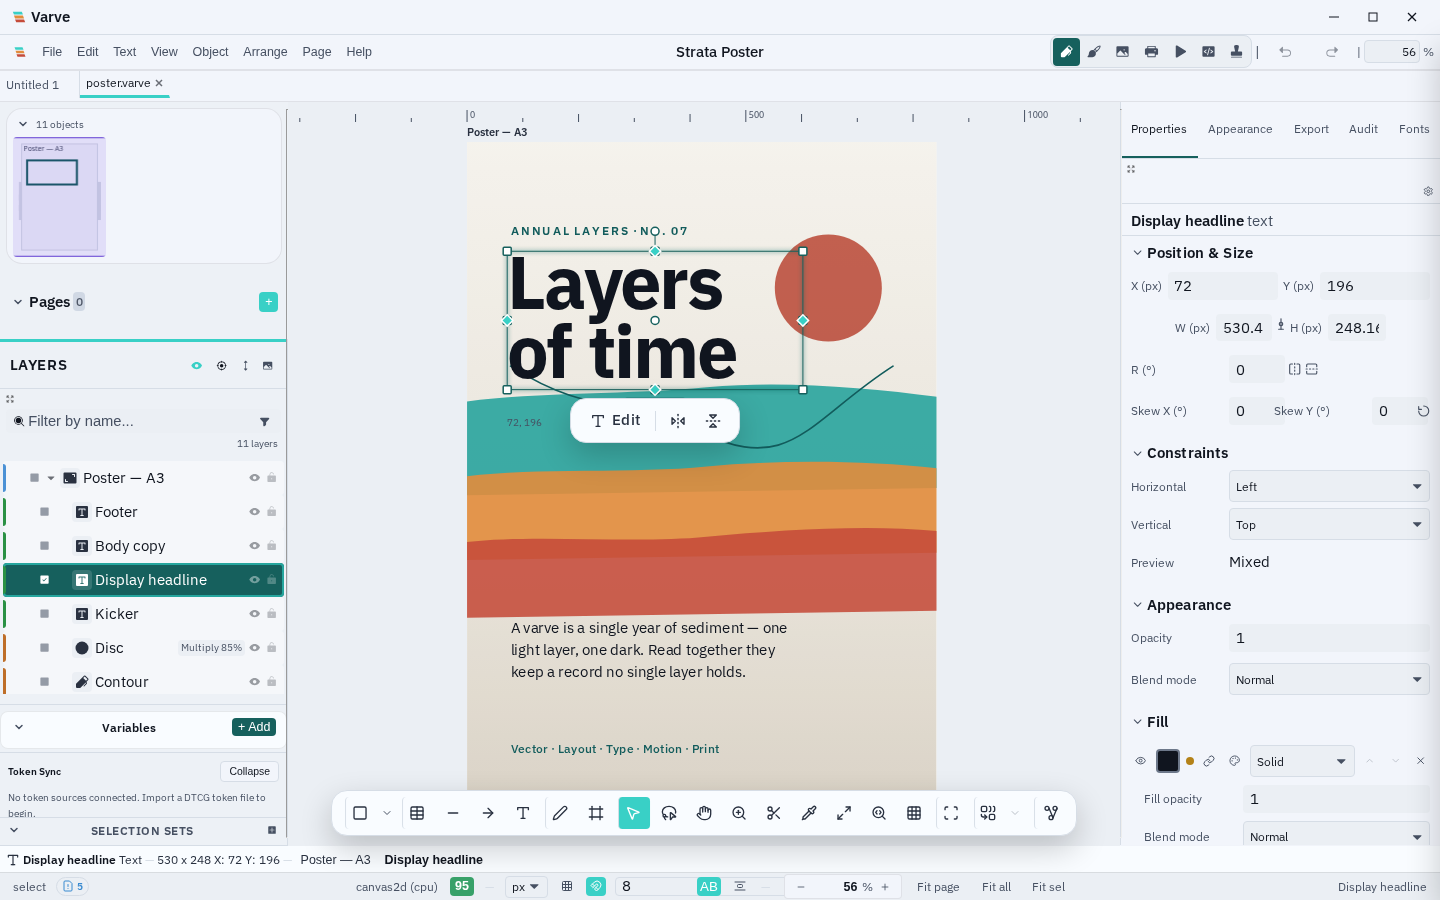
Creating Your First Document
- Click "New Document" on the home screen
- Choose a preset or enter custom dimensions
- Name your document
- Click "Create"
Basic Workflow
- Tools: Select tools from the toolbar (left side)
- Canvas: Use mouse wheel to zoom, middle-click to pan
- Layers: View and manage layers in the layers panel (right side)
- Properties: Edit properties in the inspector panel (F6)
- Export: Export via File > Export or the export panel
Keyboard Shortcuts
Common shortcuts:
V- Select toolR- Rectangle toolO- Ellipse toolT- Text toolF6- Toggle inspectorCtrl+Z- UndoCtrl+Shift+Z- Redo
See the full keyboard shortcuts reference.
Next Steps
- Interface Overview - Learn about the Varve interface
- Your First Project - Tutorial for your first design
- Features - Deep dives into Varve's capabilities
- Support - Get help if you're stuck
Need help?
Check the FAQ or ask in GitHub Discussions.